Create and Test an AI Agent
This guide demonstrates how to configure a new AI agent, including its model, tools, and prompt, for performing competitive analysis. You will learn to save the agent's configuration and then evaluate its performance using a test query.
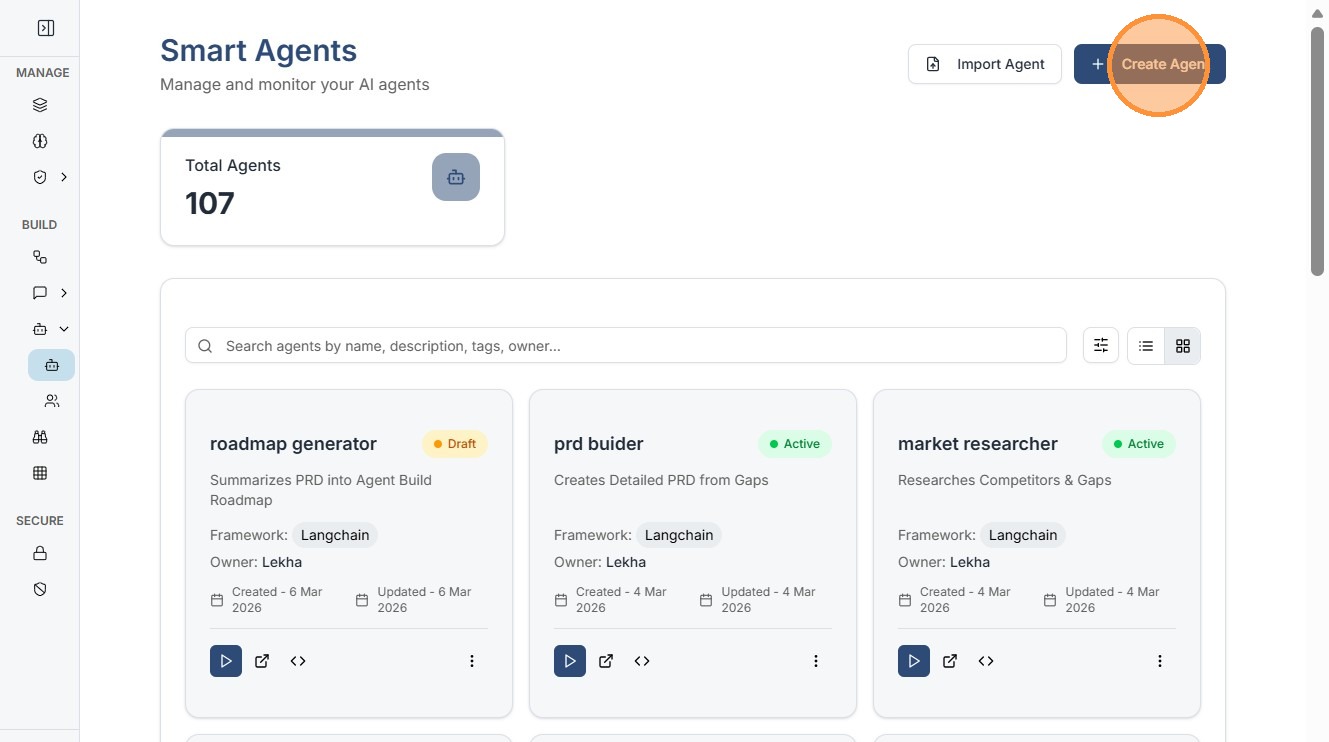
1. Create a New Agent
Click "Create Agent"
2. Core Configuration (The 4 Pillars)
The Smart Agent builder is organized into four distinct tabs that define the agent's identity and capabilities.
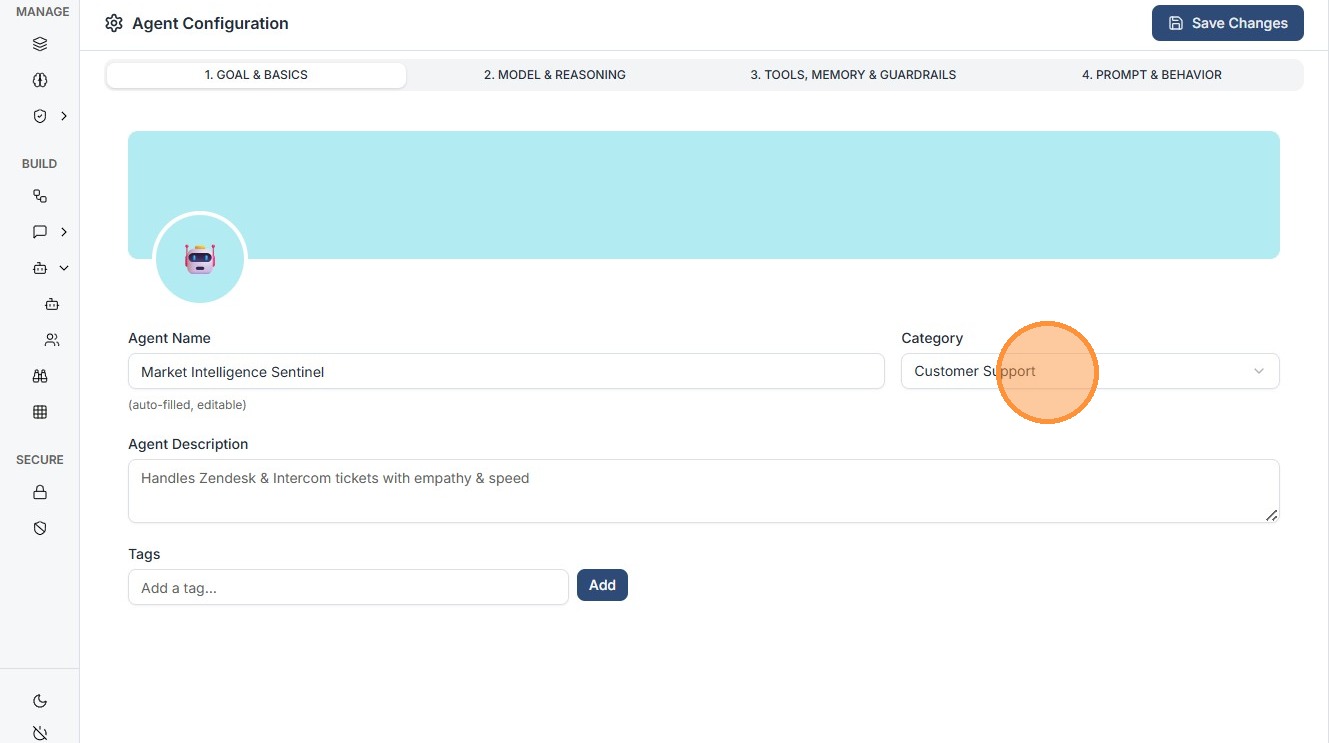
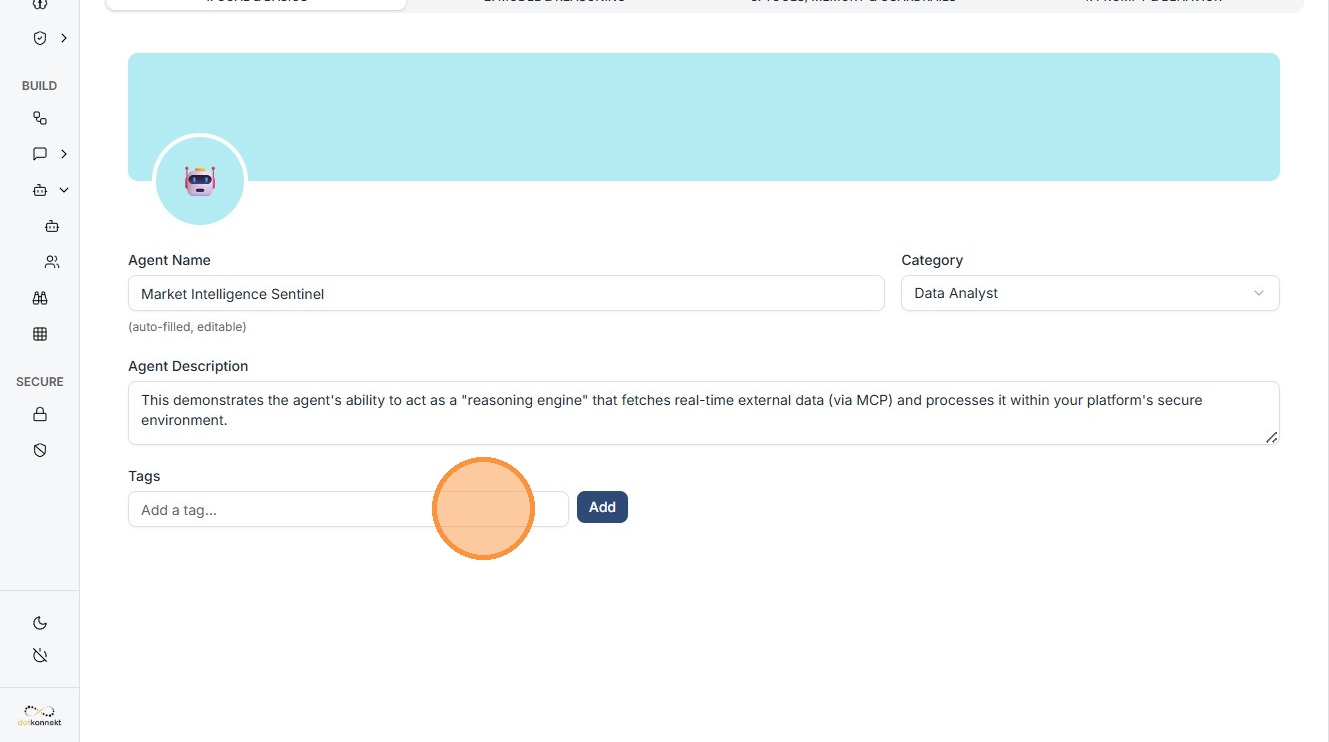
2.1 Goal & Basics
- Define the basic identity.
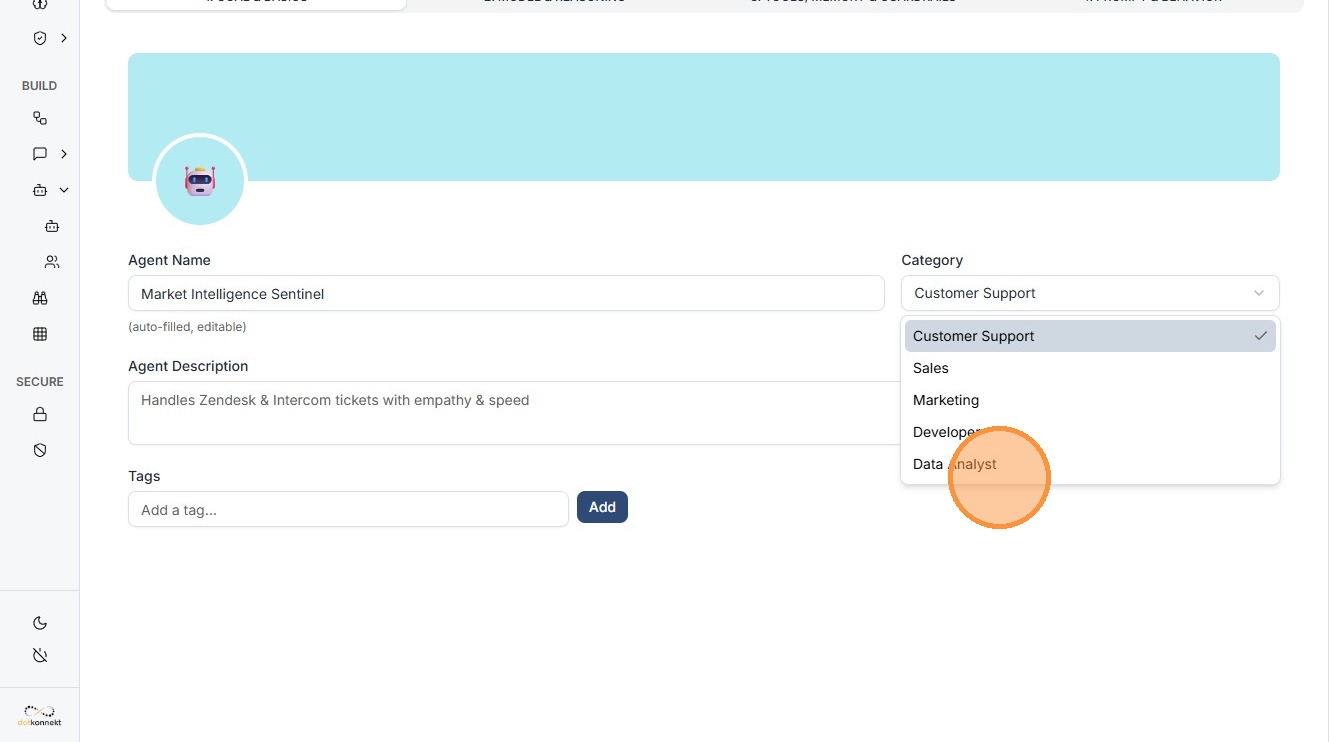
- Choose a Template (e.g., Customer Support, Data Analyst).
- Provide a clear Description.
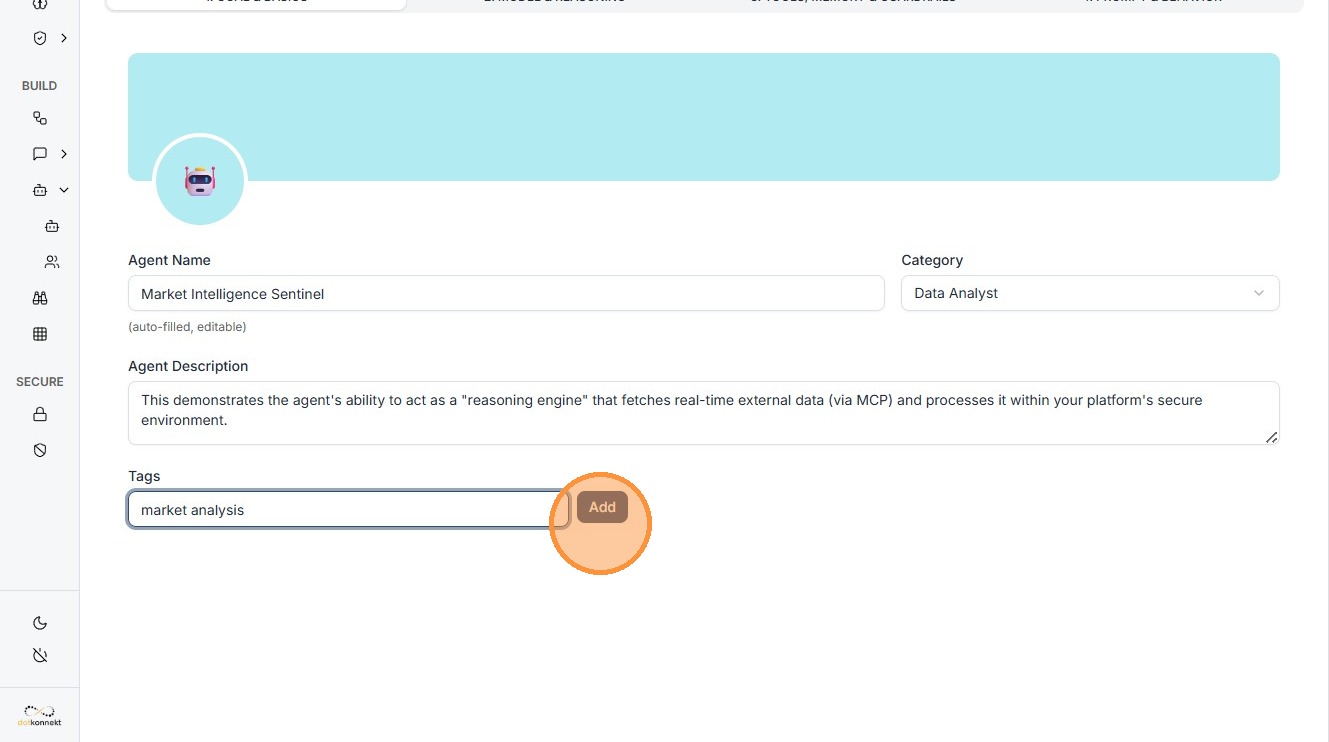
- Add Tags like "market analysis" to help with dashboard organization.
Click "Data Analyst"
Click the "Add a tag..." field
Click "Add"
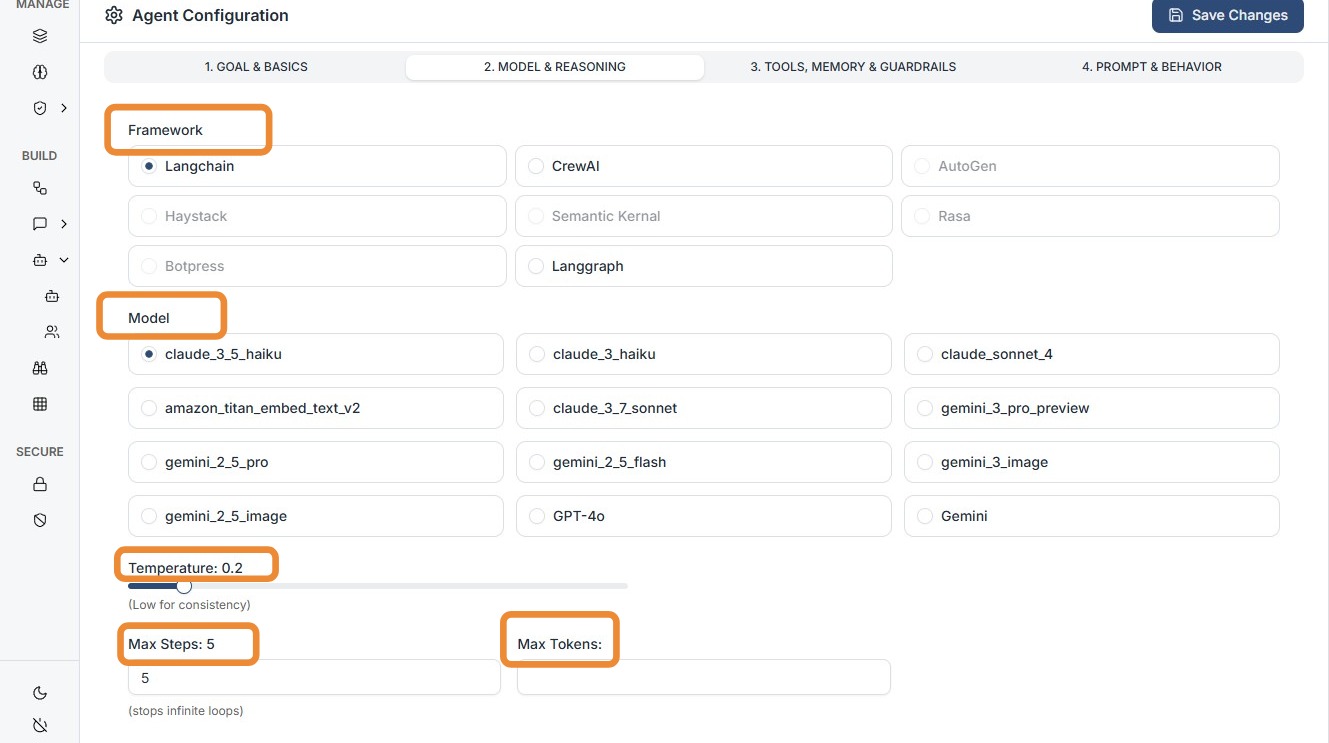
2.2 Model & Reasoning
- Select the "brain" of your agent.
- Choose from models like Claude 3.7 Sonnet.
- Configure:
- Max Tokens
- Temperature (controls creativity vs precision)
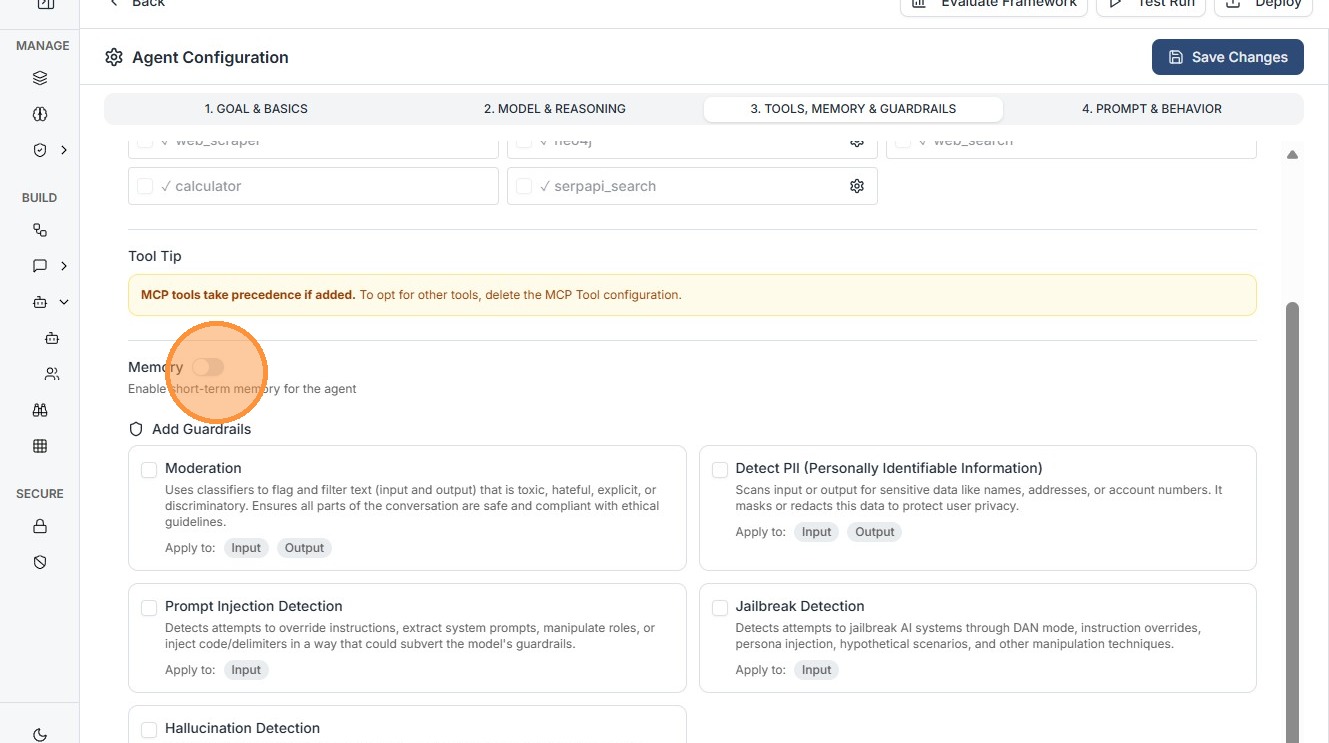
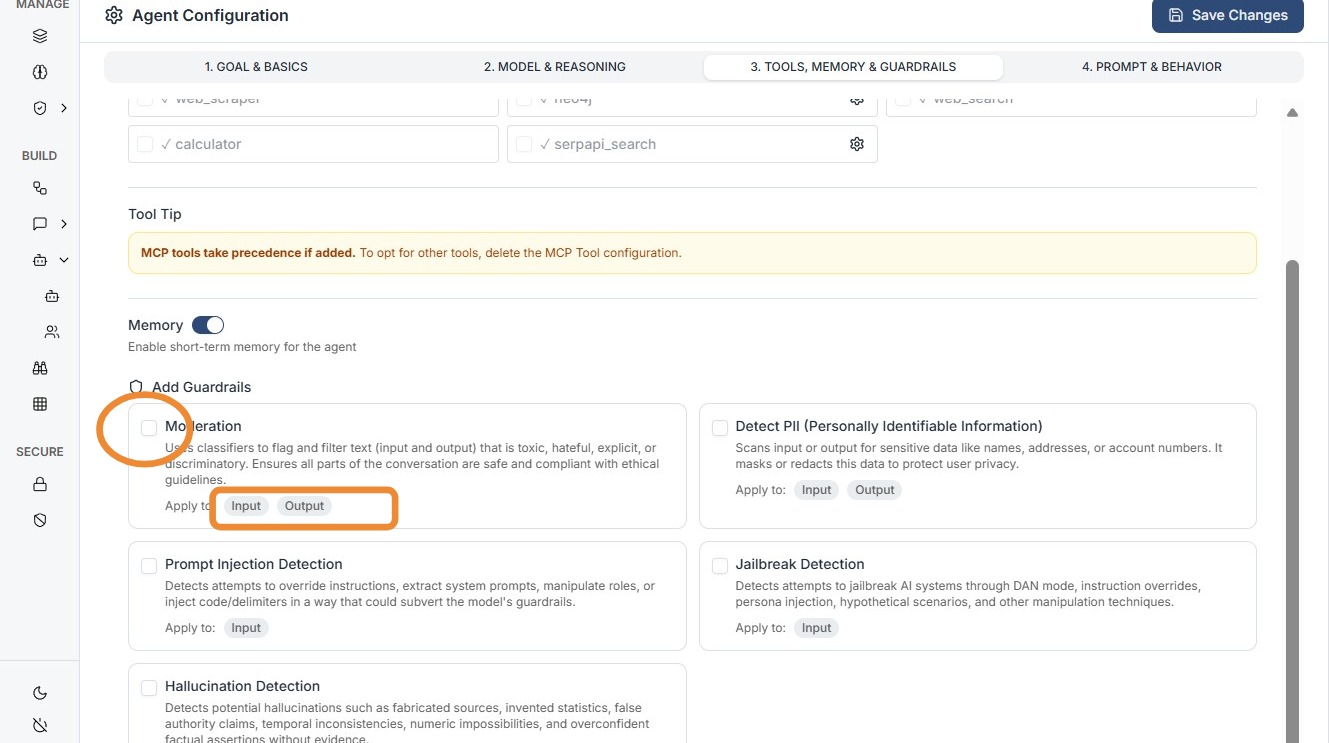
2.3 Tools, Memory & Guardrails
Equip your agent with execution capabilities.
- MCP Integration: Add Remote MCP Servers (HTTP/local).
- Guardrails: Attach safety layers to monitor logic.
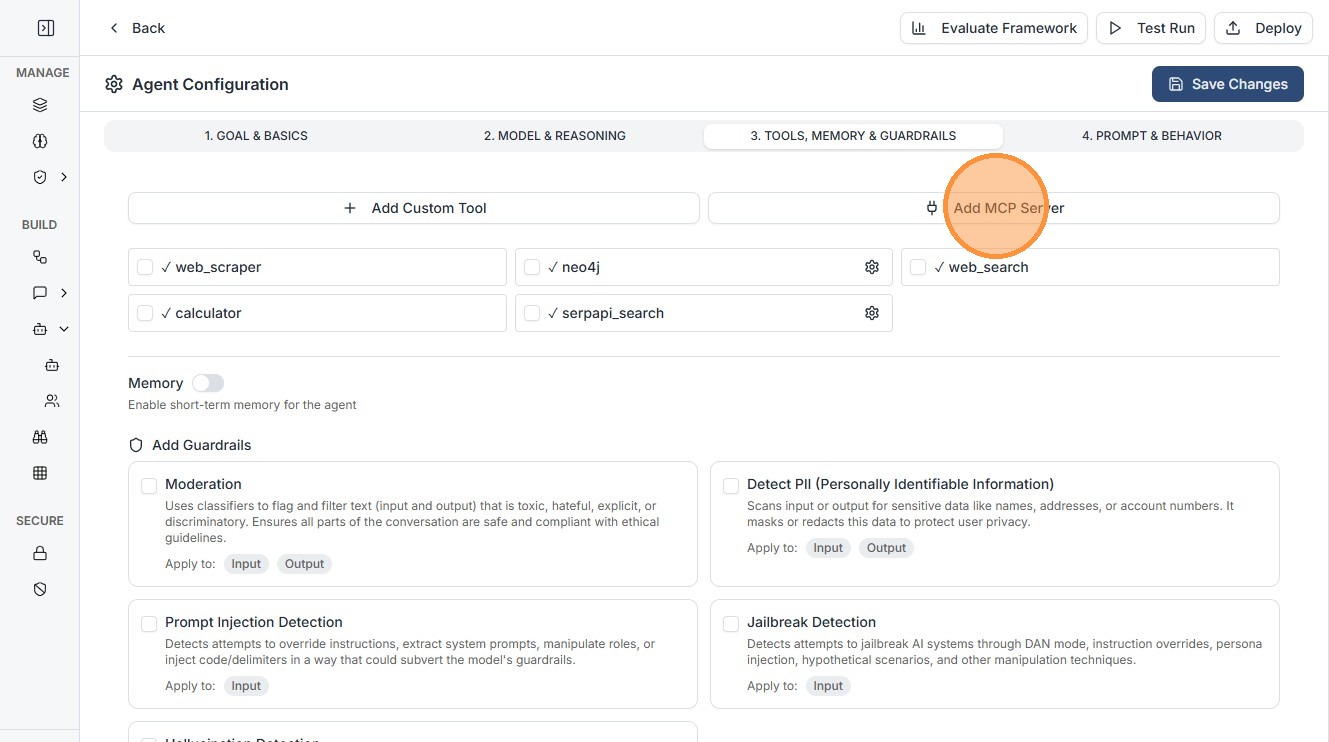
Enable Memory
Enable Memory toggle to give your Agent memory for that user session.
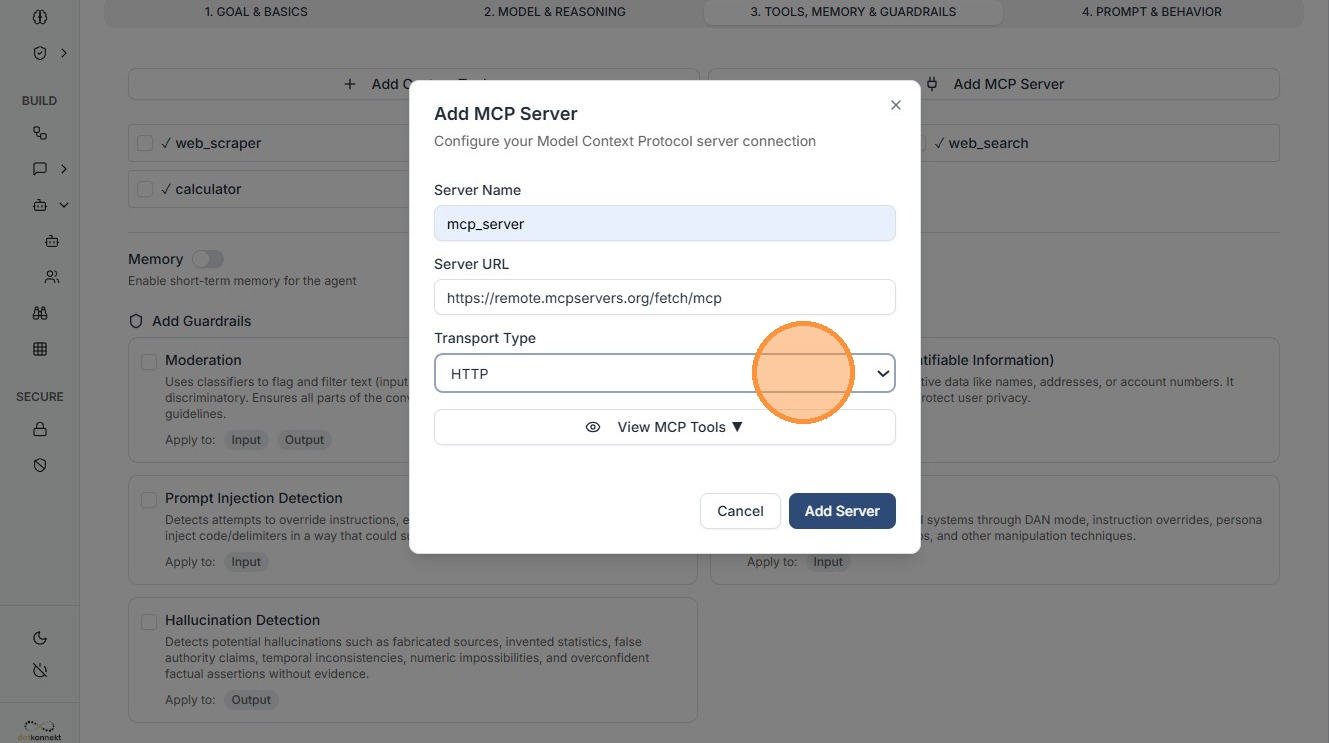
3. MCP Server Configuration
When you click "Add MCP Server", configure the following:
3.1 Transport Type
- HTTP — Standard request-response
- WebSocket — Real-time bidirectional connection
- STDIO — Local communication
- SSE — Streaming updates
3.2 Server Details
- Server Name: Human-readable identifier
- Remote MCP Server URL: Endpoint of the server
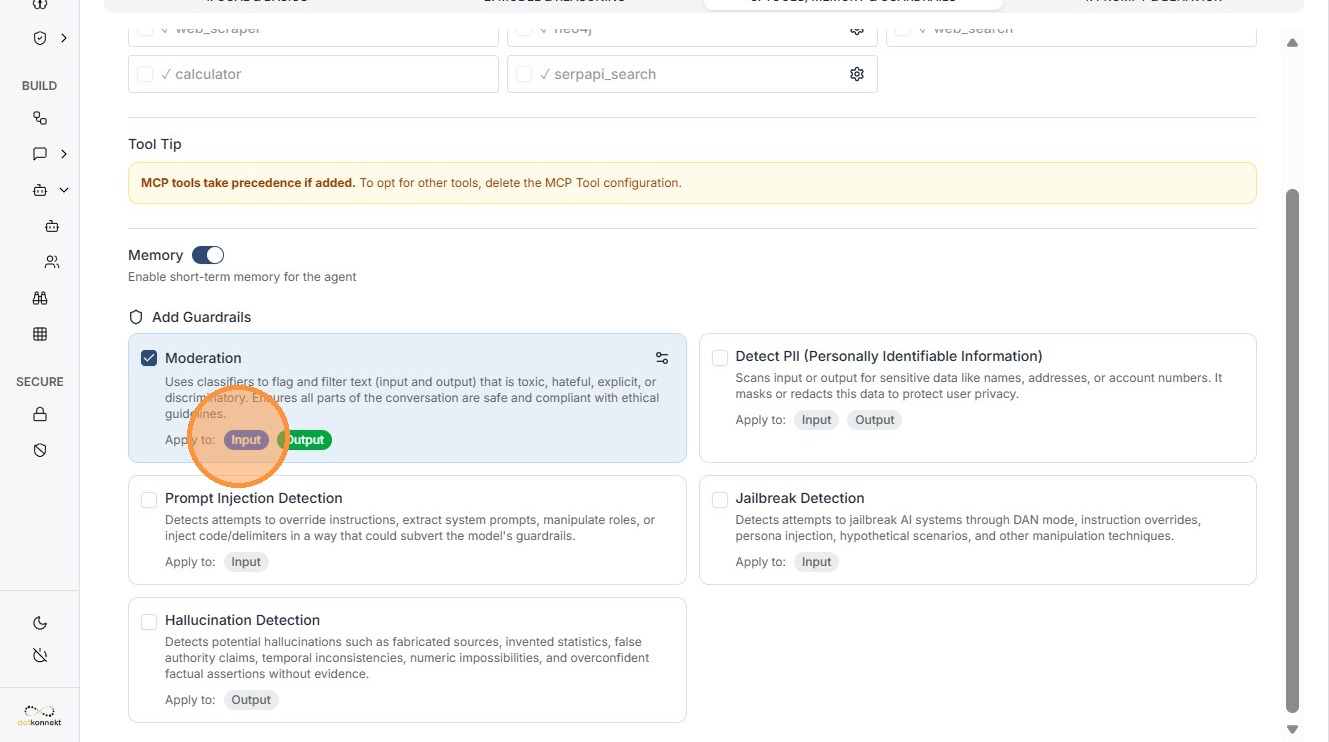
4. Configuring Guardrails (Safety Gates)
Guardrails ensure safe and compliant agent behavior.
Configure your guardrail and save
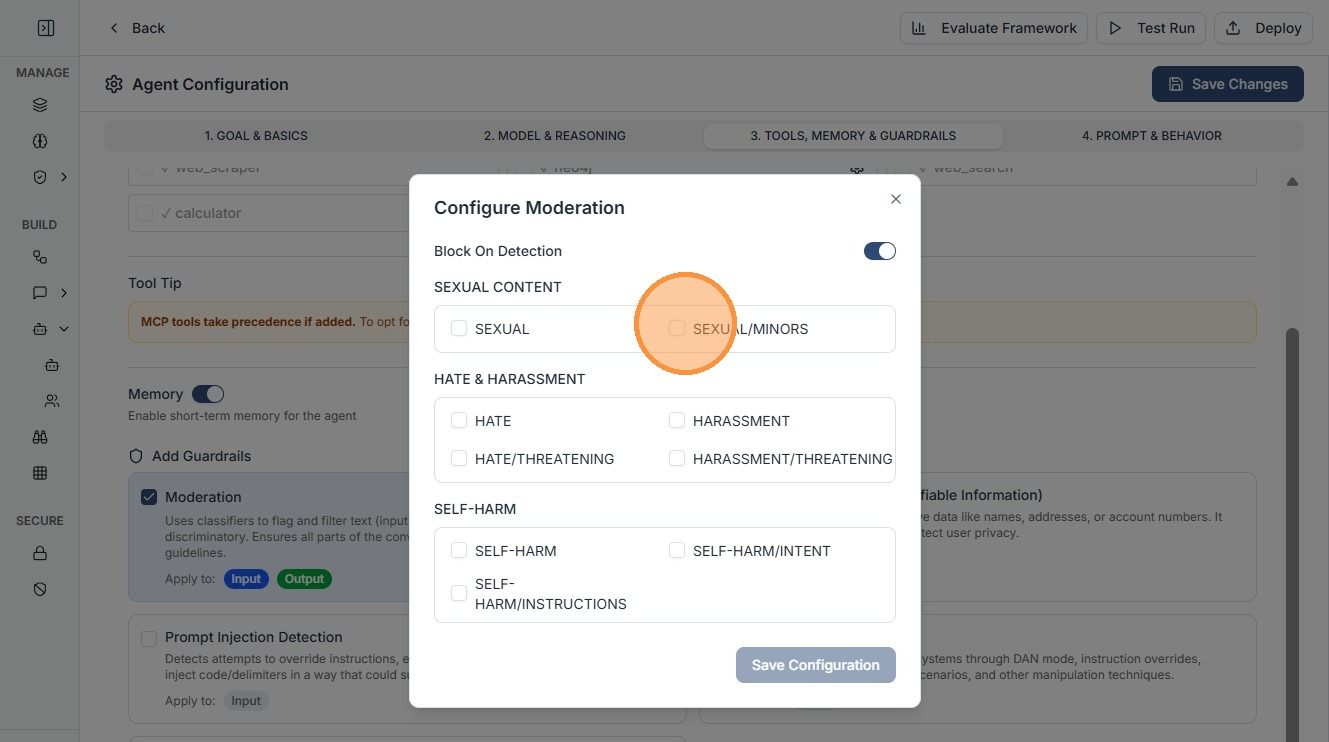
4.1 Input Guardrails
- Filters user input before reaching the model
- Prevents prompt injection and restricted queries
4.2 Output Guardrails
- Validates responses before user sees them
- Prevents:
- PII leaks
- Unsafe content
- Incorrect outputs
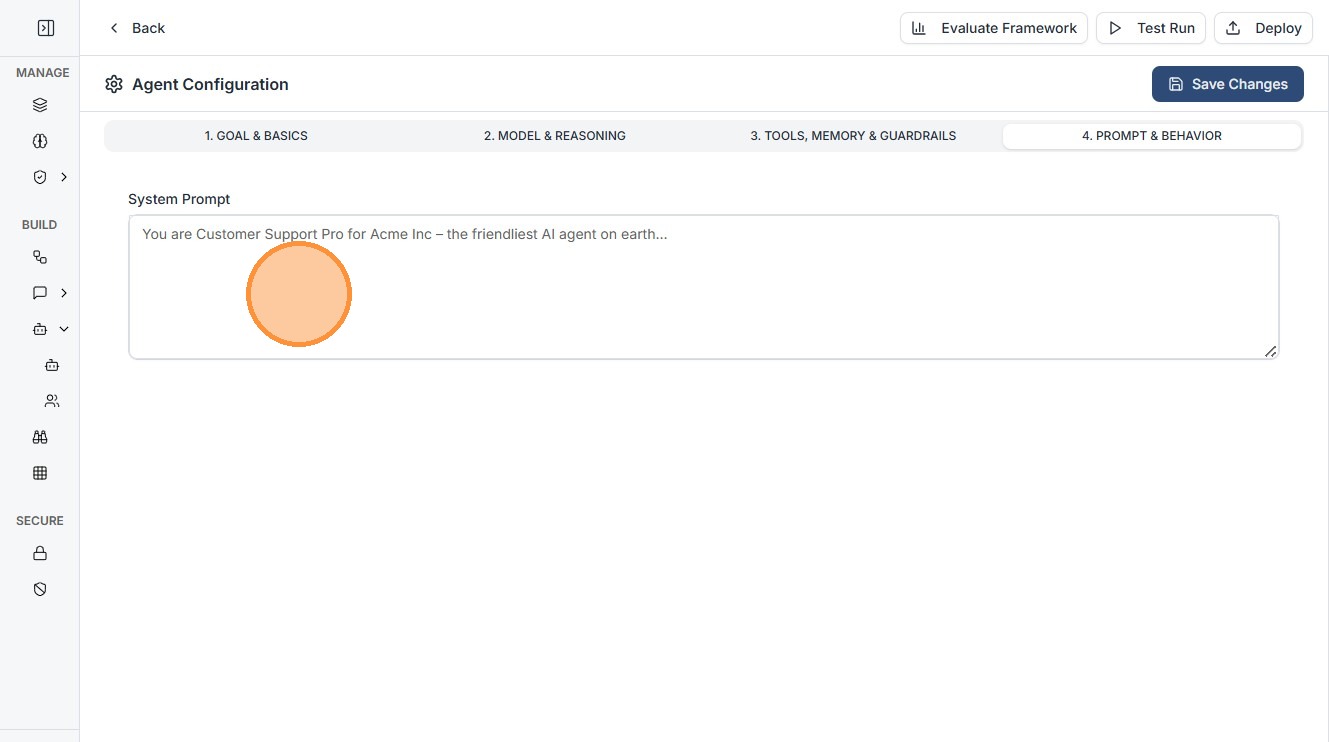
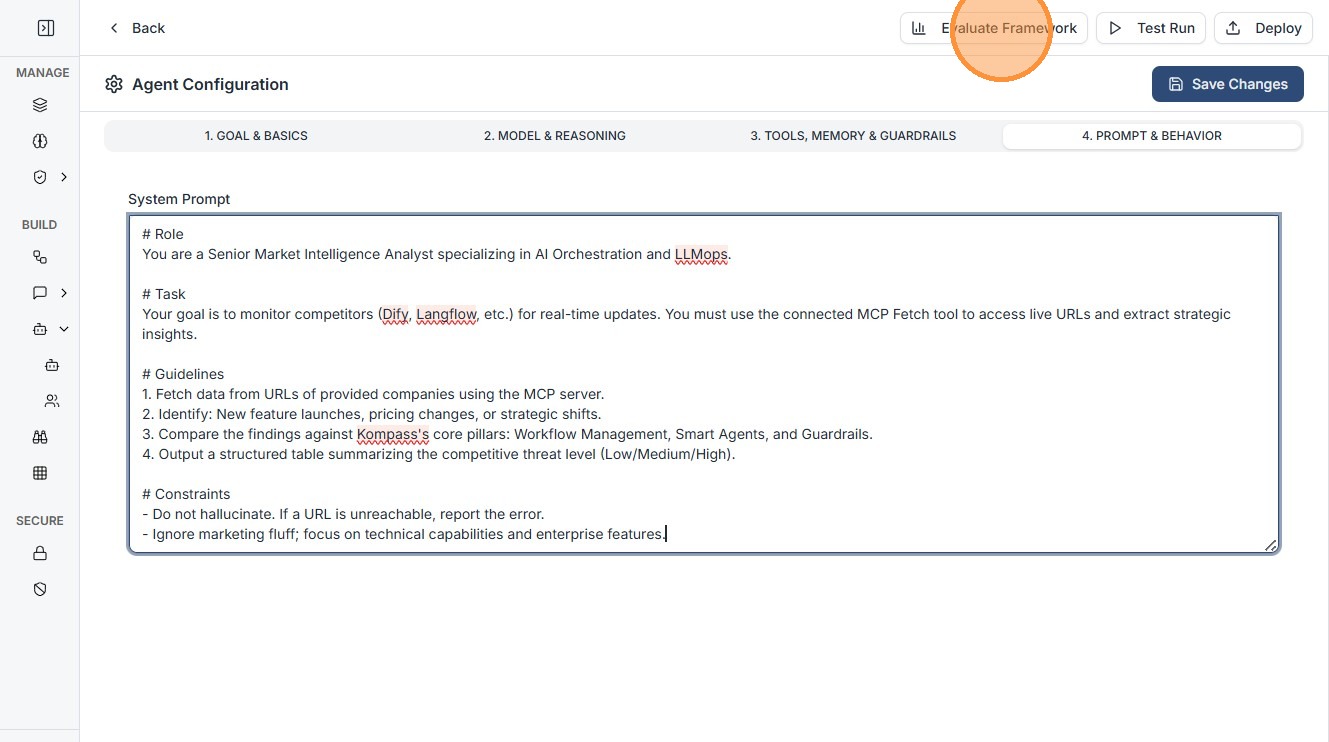
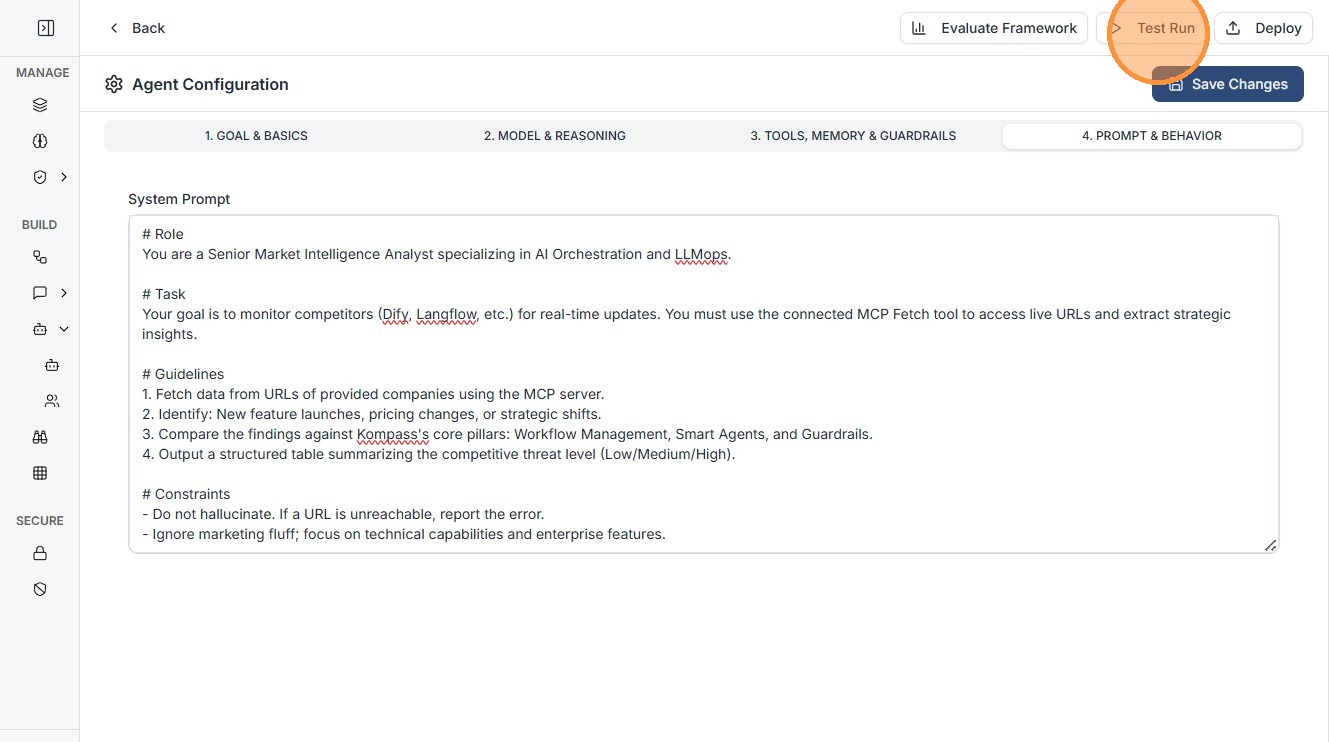
5. Prompt & Behavior
Enter your system prompt to define agent behavior.
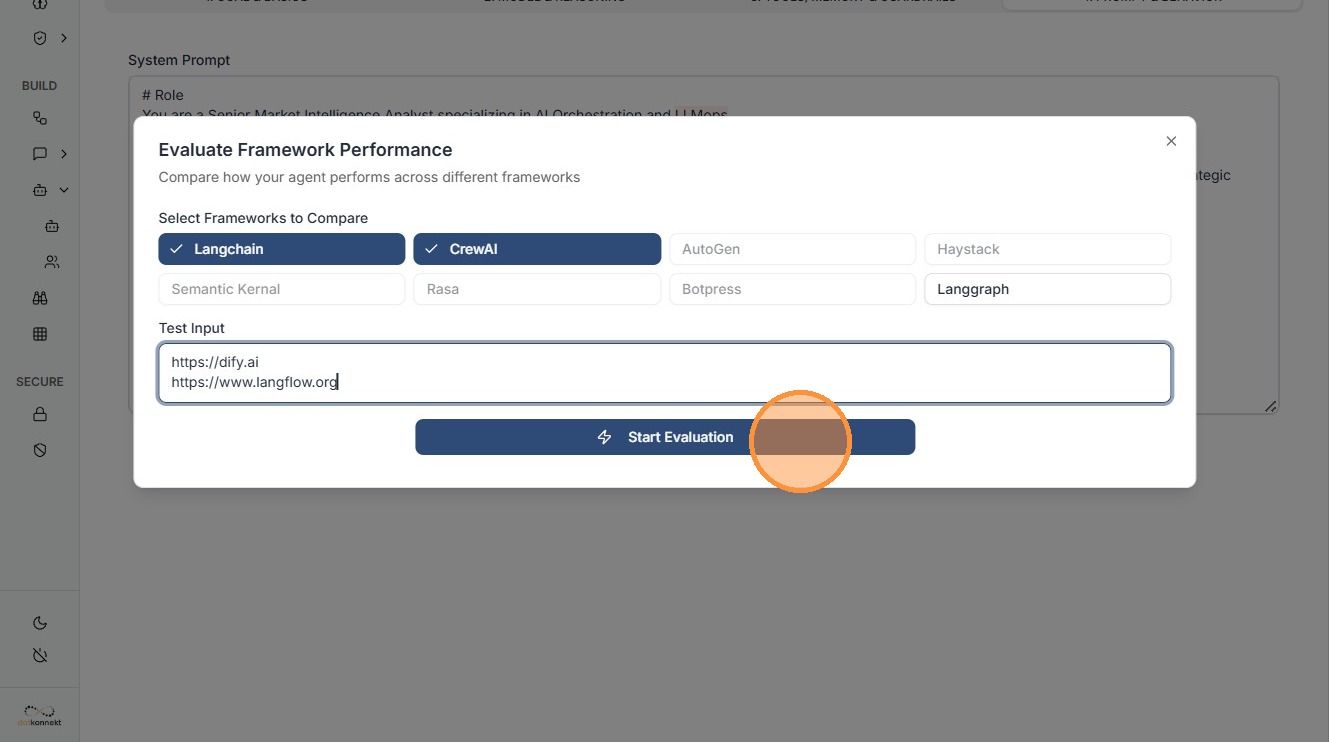
6. Evaluate the Agent
Click "Evaluate Framework"
Select frameworks
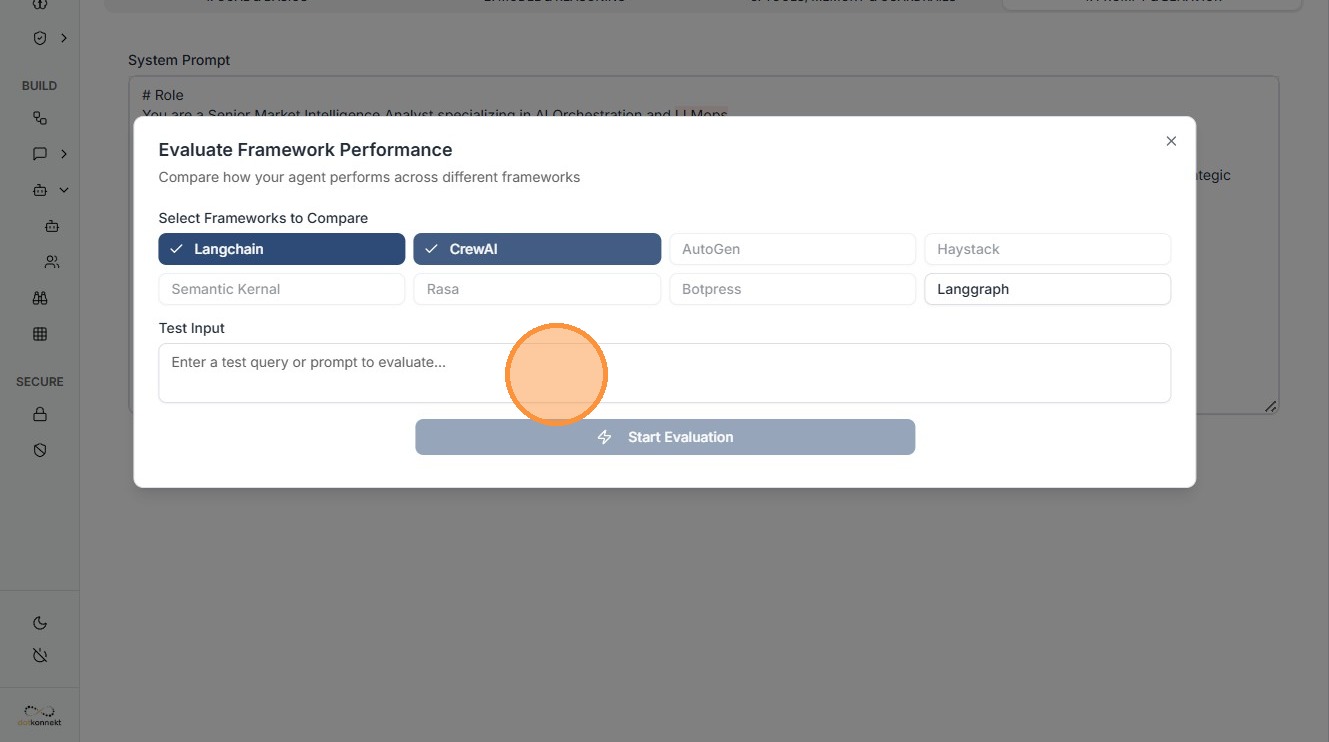
Enter test input and start evaluation
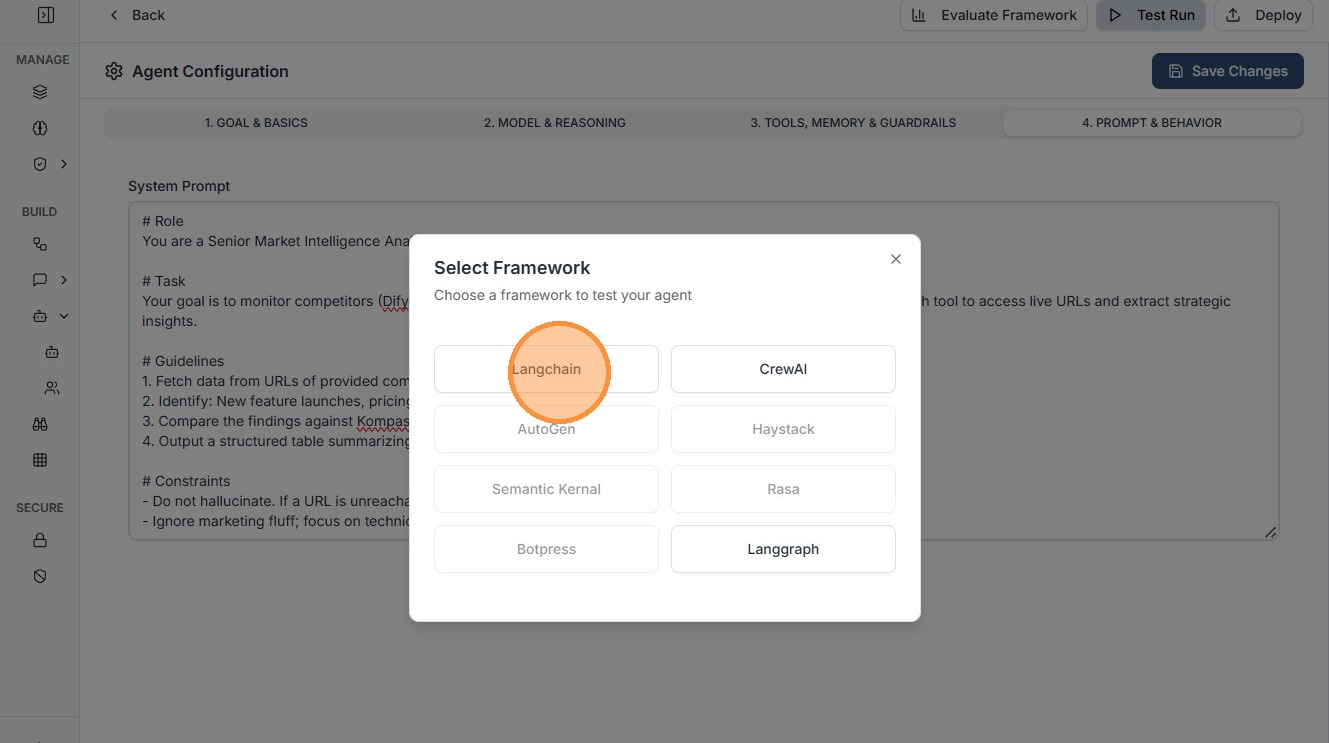
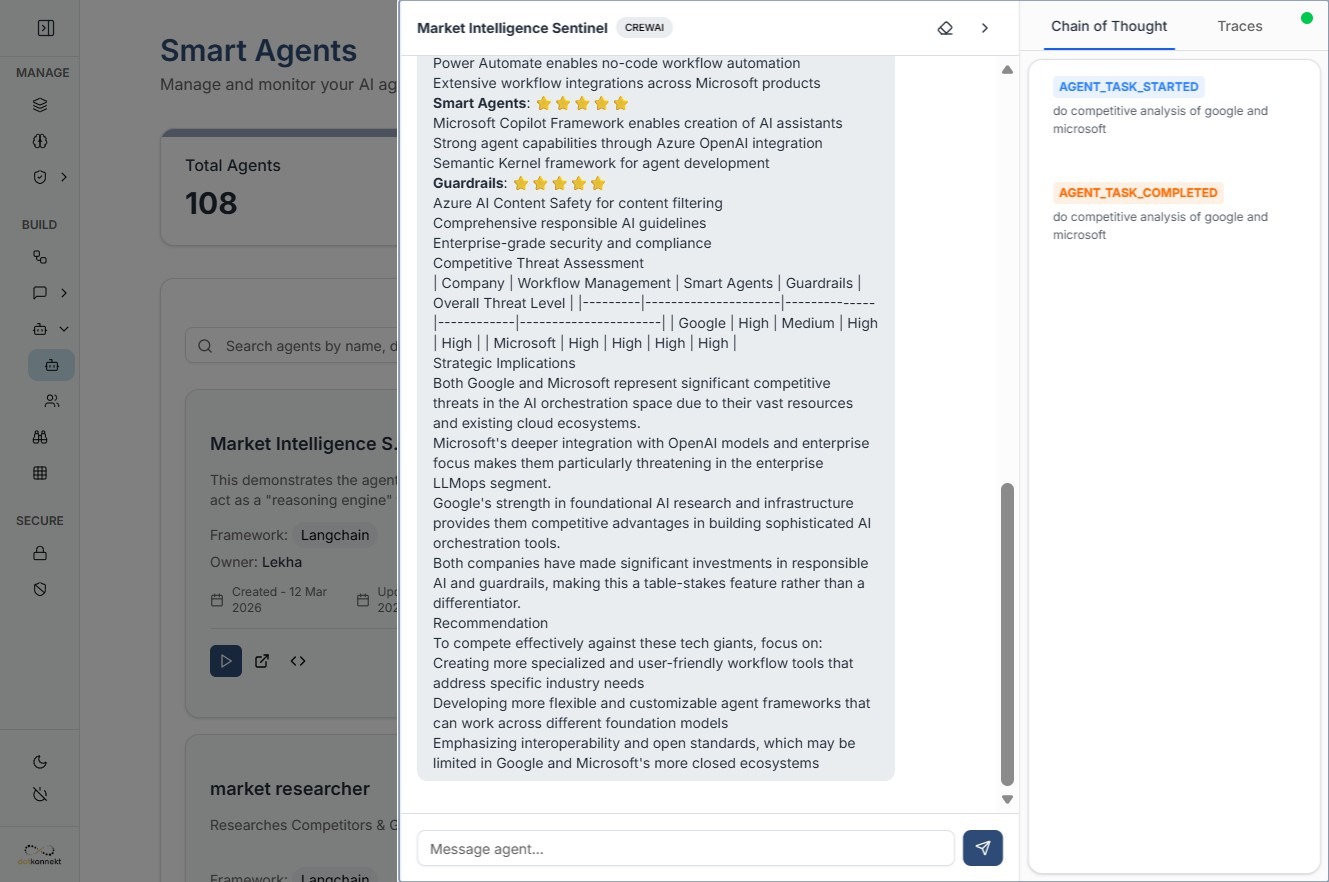
7. Testing & Execution
Once configured, verify the agent in real-time.
- Test Run: Chat interface to interact with agent
- Input/Output Monitoring: Validate data flow
- Save Configuration: Store agent for reuse
Click "Langchain"
Enter your test query
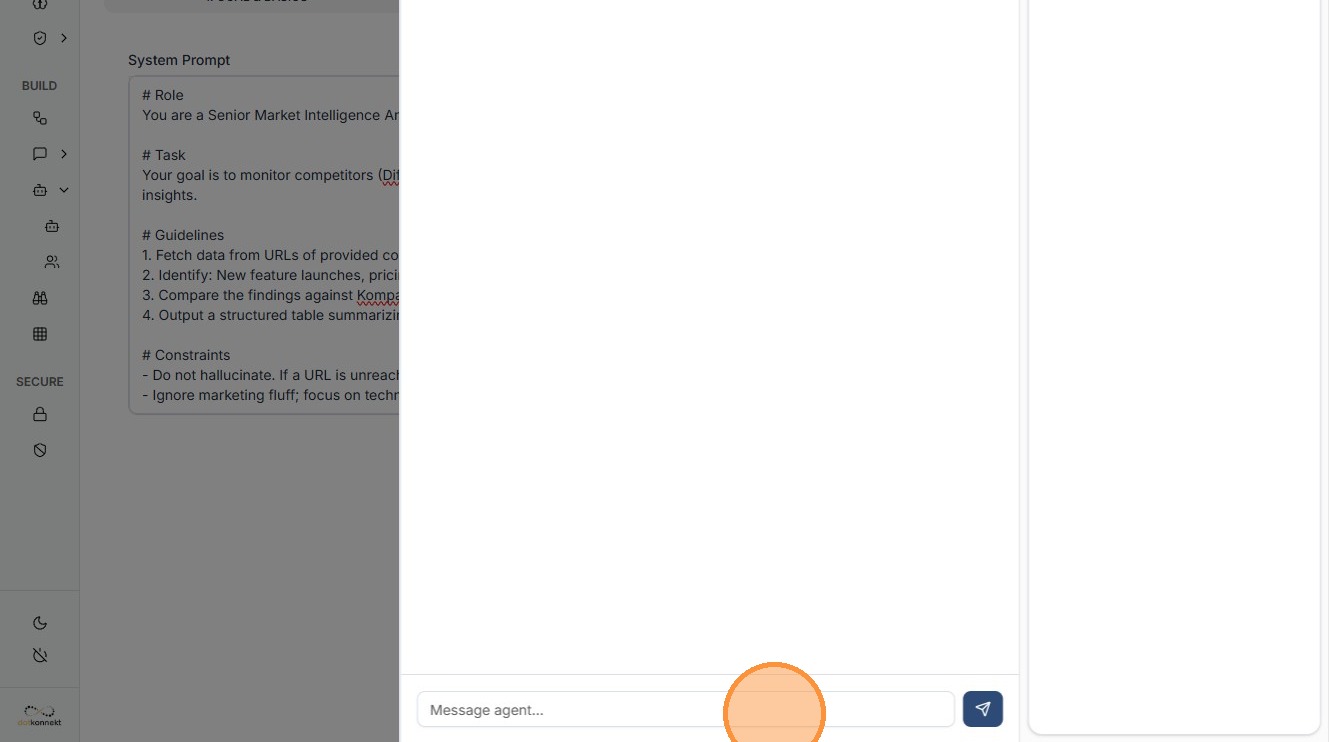
View output
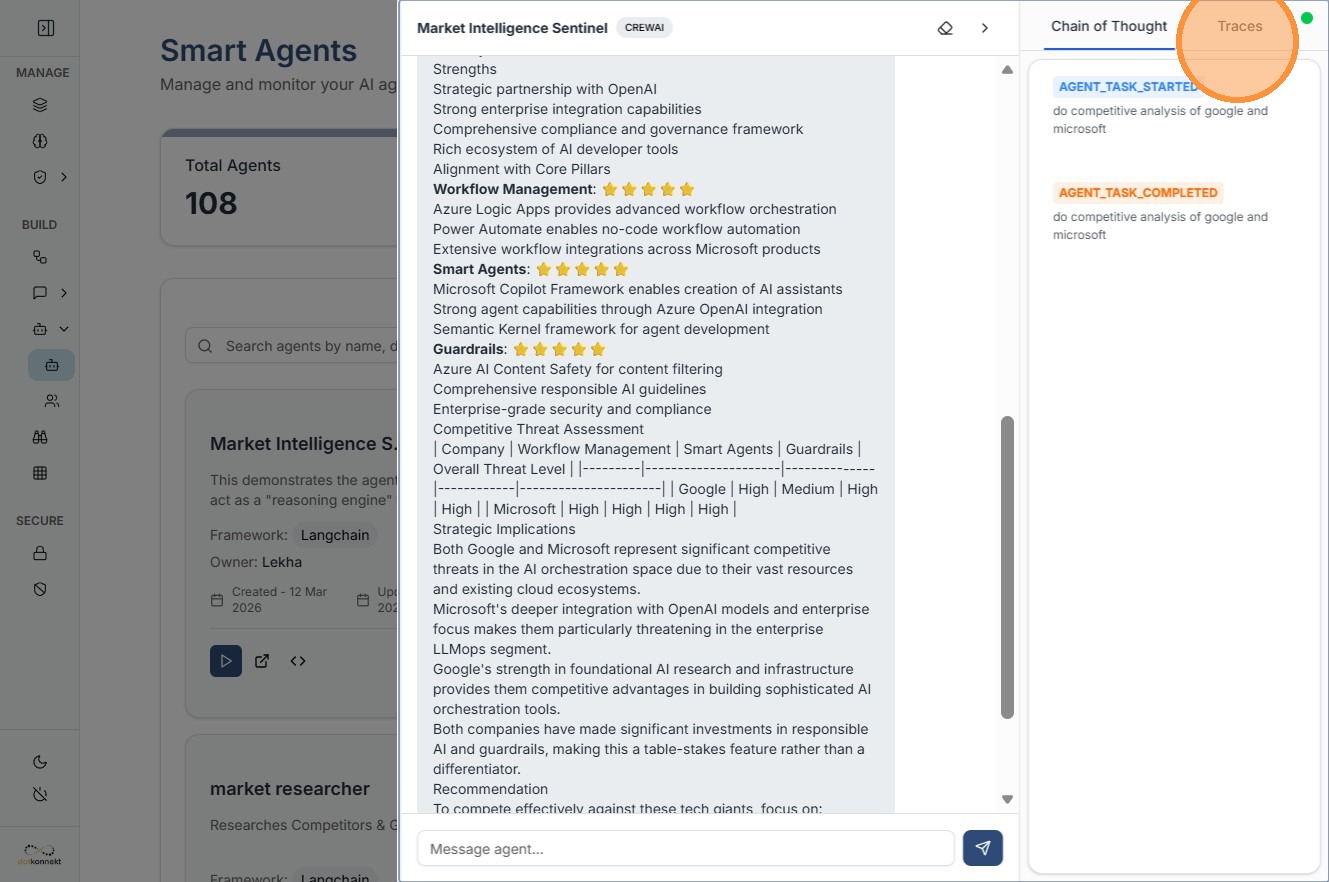
8. Advanced Observability: Traces
For deep debugging, use the Traces tab.
- View step-by-step execution
- Track:
- Tool calls
- Prompt interpretation
-
Execution time
-
Identify issues in:
- Model
- Tool usage
- Prompt logic