Public vs Private View
This guide explains how visibility works for Agents and Workflows in Kompass, and how to switch them from Private → Public.
Understanding Visibility
By default, all agents and workflows are created as Private.
Private Mode
- Only the creator (your account) can view and access the agent/workflow
- Other users in the system cannot see or use it
- Ideal for:
- Development
- Testing
- Iteration
Public Mode
- The agent/workflow becomes visible to other users
- Other users can:
- Discover it
- Use it (based on access rules)
- Useful for:
- Sharing reusable workflows
- Enabling collaboration
- Publishing production-ready assets
How to Make an Agent or Workflow Public
1. Navigate to Agent/Workflow
Open the agent or workflow from the Kompass Admin Interface.
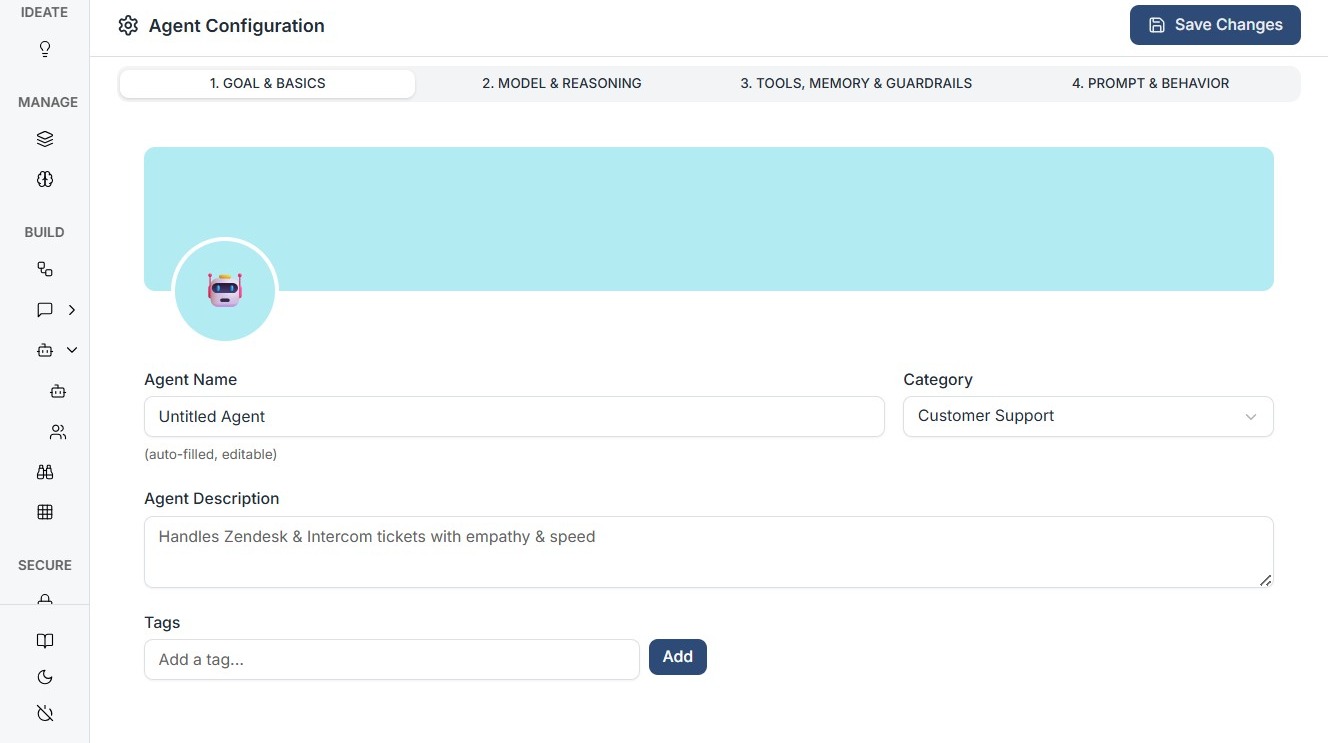
Locate Visibility Setting
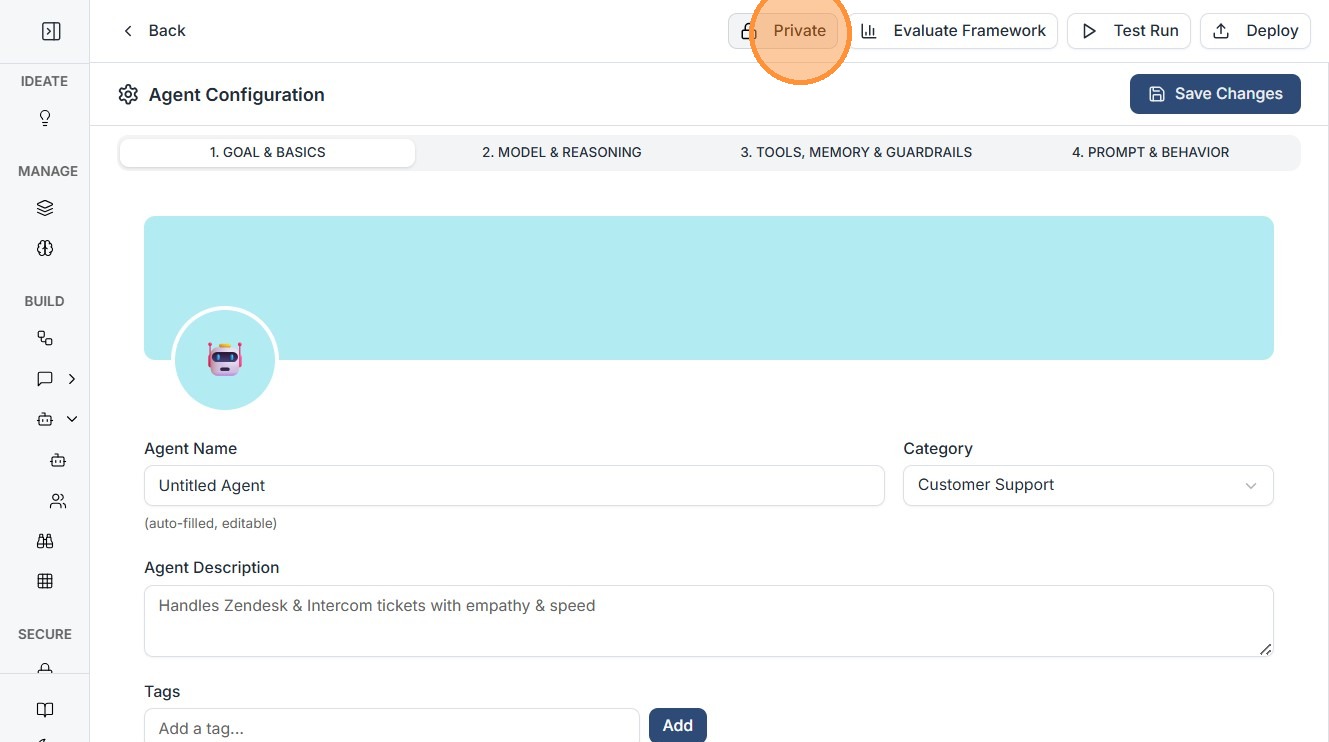
At the top of the interface, you will see the current status as Private.

Change Visibility to Public
Click on Private to open options.
Then select Make Public.
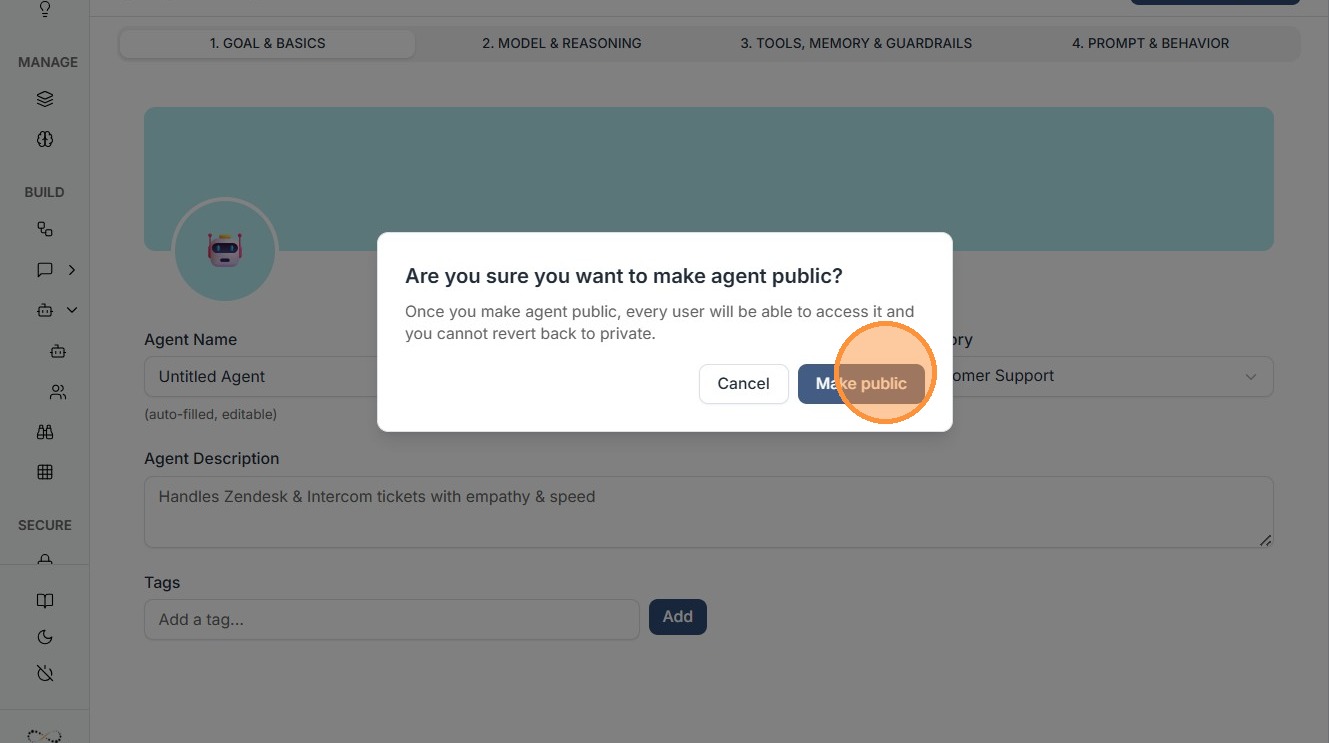
Confirm Visibility Update
Once updated, the status will change to Public.

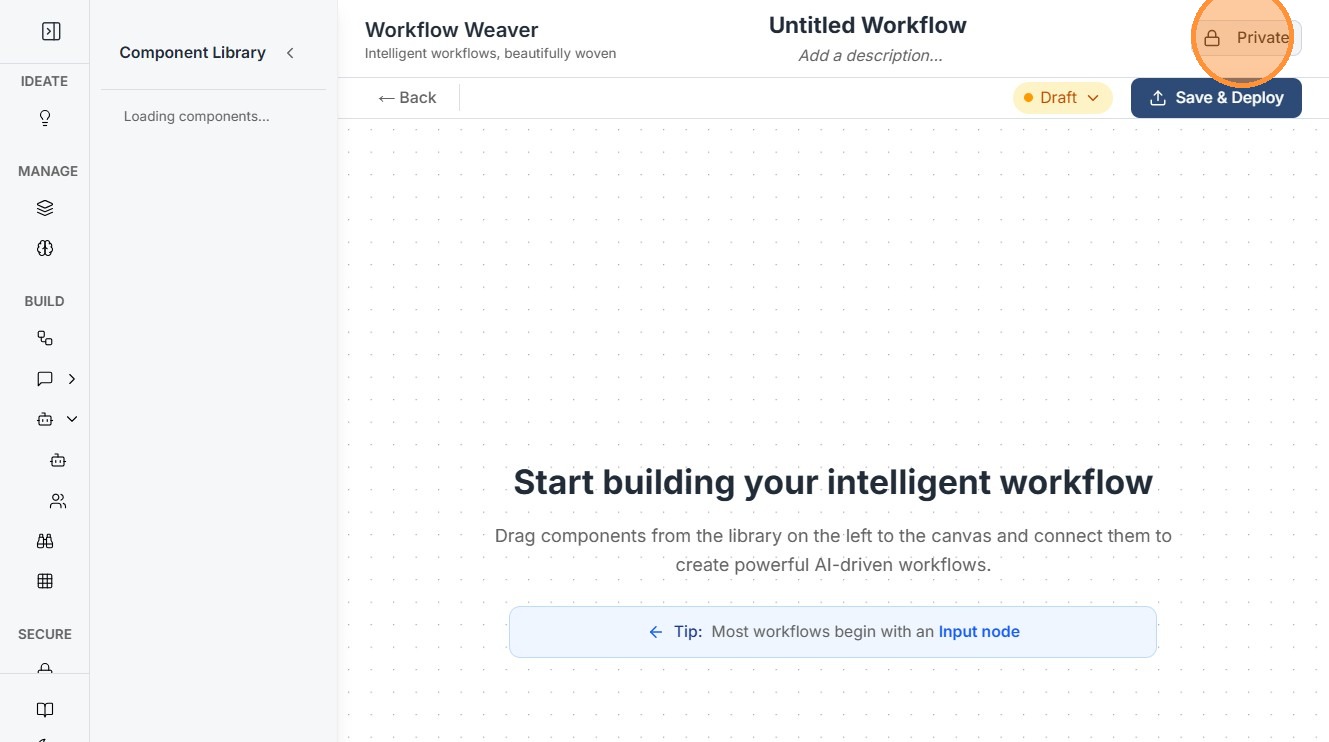
Similarly you can make your workflow public too!
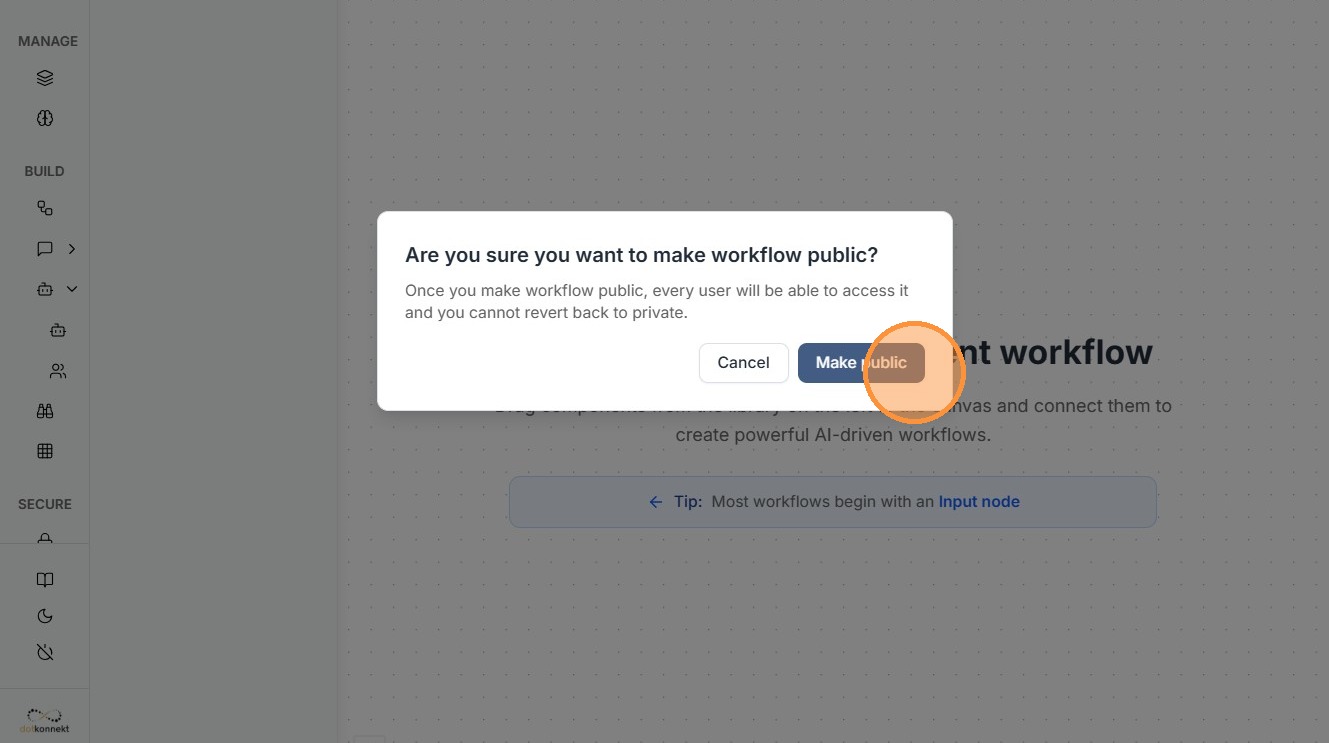
Go to the Workflow and once you are ready locate the Private button on the top.
- Click on Public / Private toggle
- Select Make Public
How Visibility Impacts Usage
| Mode | Who Can See | Who Can Use |
|---|---|---|
| Private | Only you | Only you |
| Public | All users | Based on access permissions |
Best Practices
- Keep workflows Private while building and testing
- Make them Public only after validation
- Use Public mode for reusable templates and production workflows
Tip
Visibility Behavior for Workflows vs Agents
If you make a workflow public but keep the agent private:
- Other users can see and access the workflow
- However, they cannot view or access the underlying agent configuration
This allows you to share workflows while keeping agent logic secure and controlled.